

- Go to “Settings”.
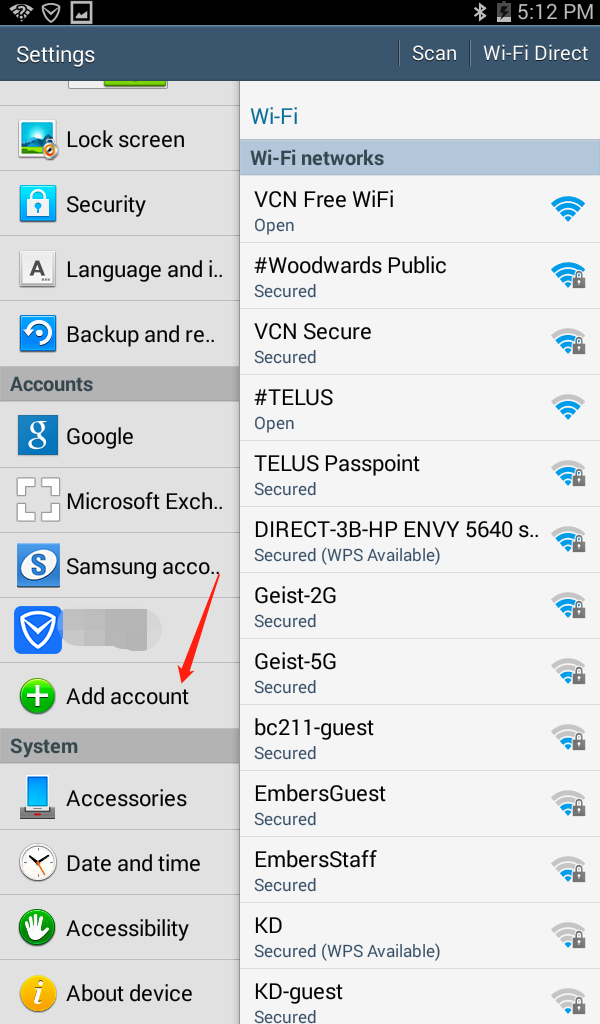
2. Find “Add Account”.
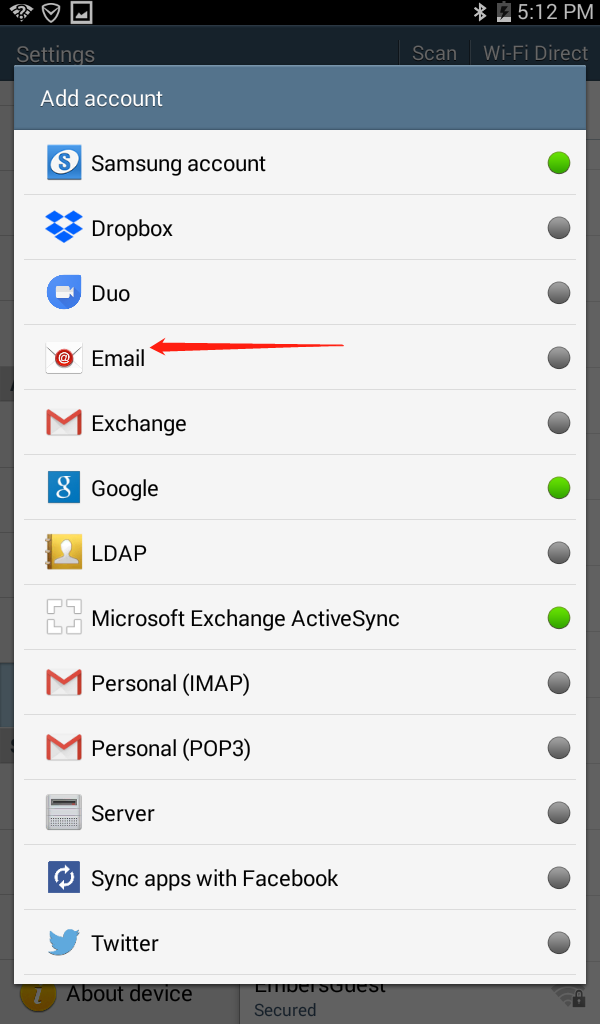
3. Click “Email”.
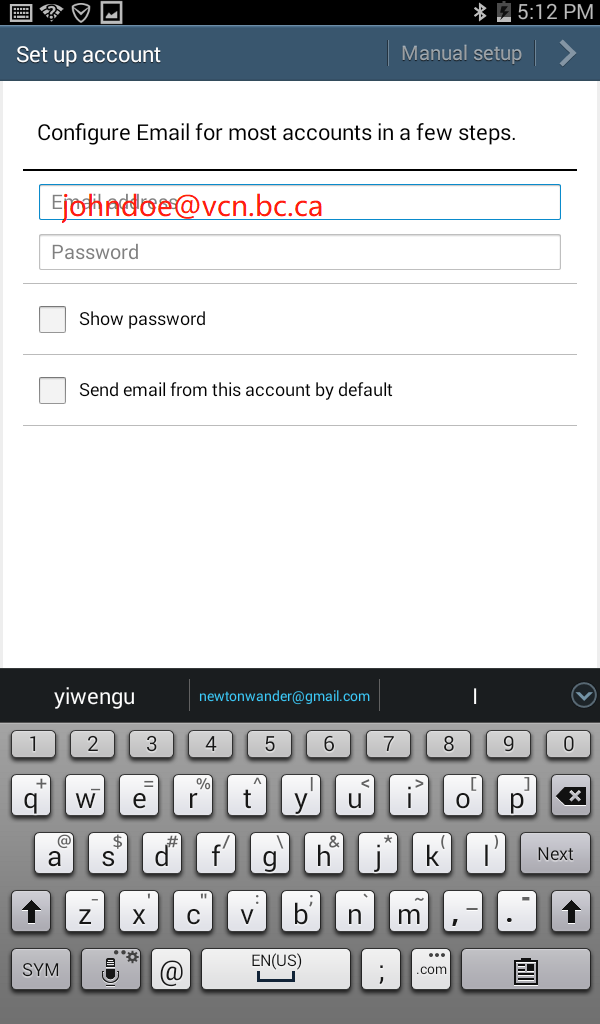
4. Enter your email and password.
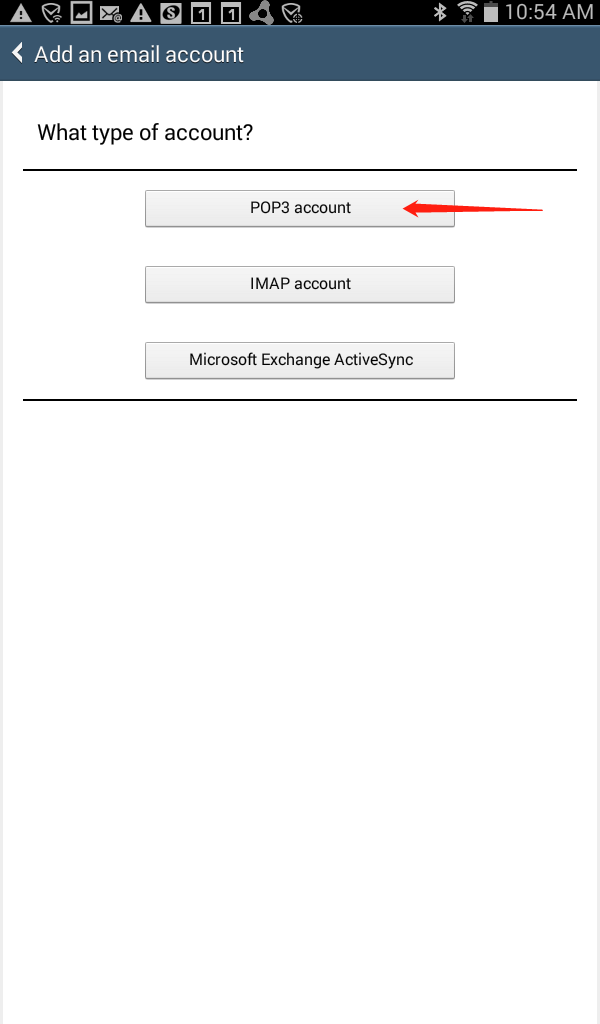
5. Select “POP3 account”. If you wish to use IMAP, please refer to the Generic Email Configuration for details.

6. Enter the incoming server settings as indicated.
POP3 server: mail.vcn.bc.ca
Security type: SSL
Port: 993
Delete email from server: Never
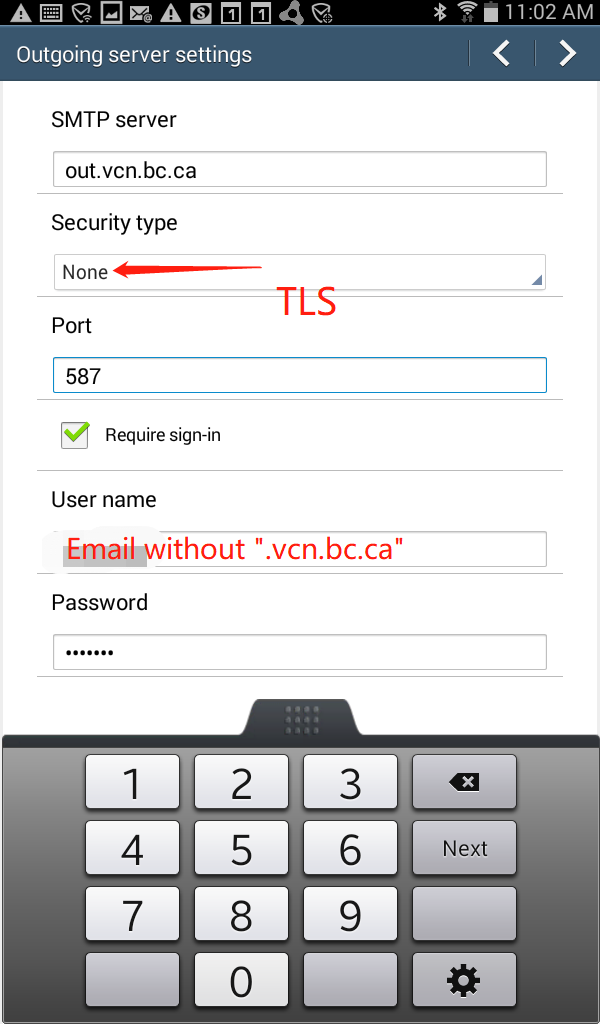
7. Enter the outgoing server settings as indicated.
NOTE: If you wish to use Telus or Shaw as your internet provider, please go to your provider’s website and follow their Outgoing Server settings.
SMTP server: out.vcn.bc.ca (Using the Outgoing Mail Server ‘out.vcn.bc.ca’ first requires registering for access HERE)
Security type: TLS
Port: 587
Require sign-in: Checkmarked
Username: email without “.vcn.bc.ca”
Password: VCN password
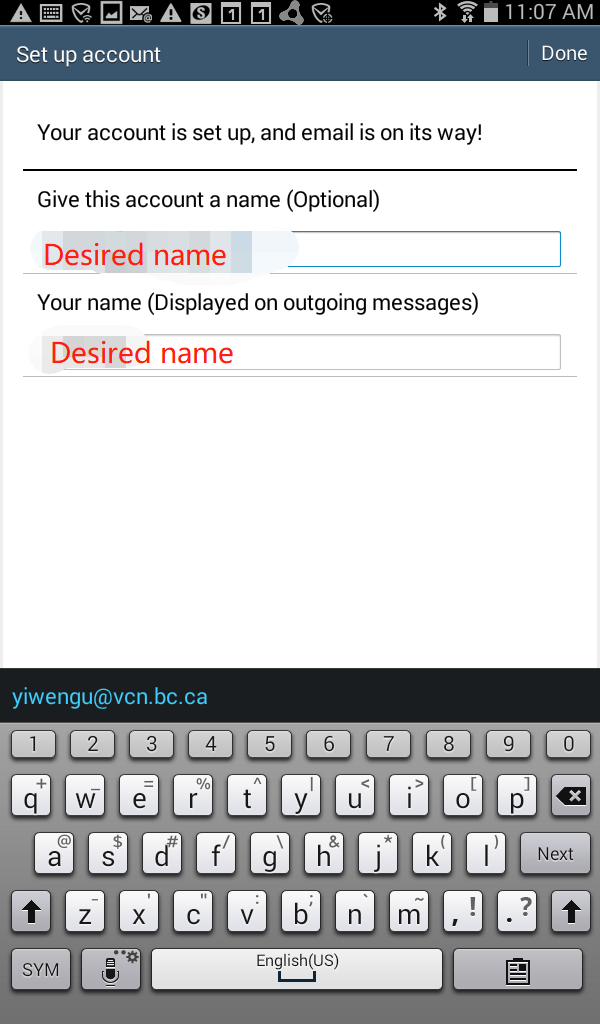
8. Customize your desired account name.

9. Now you are ready to go!