![](https://www2.vcn.bc.ca/wp-content/uploads/2019/04/10-1-1024x569.png)
- Locate “Files”.
![](https://www2.vcn.bc.ca/wp-content/uploads/2019/04/10-2-1024x597.png)
2. Click Add Accounts.
![](https://www2.vcn.bc.ca/wp-content/uploads/2019/04/10-3.png)
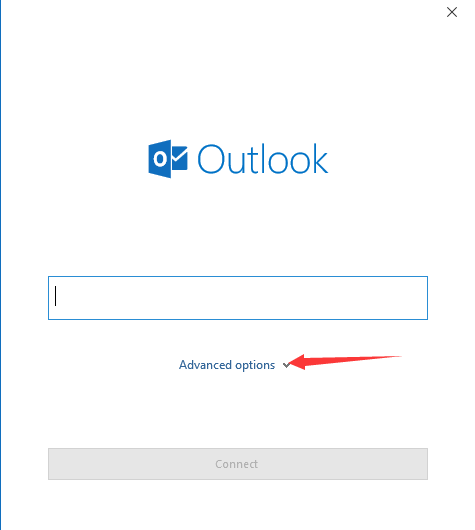
3. Click Advanced Options.
![](https://www2.vcn.bc.ca/wp-content/uploads/2019/04/10-4.png)
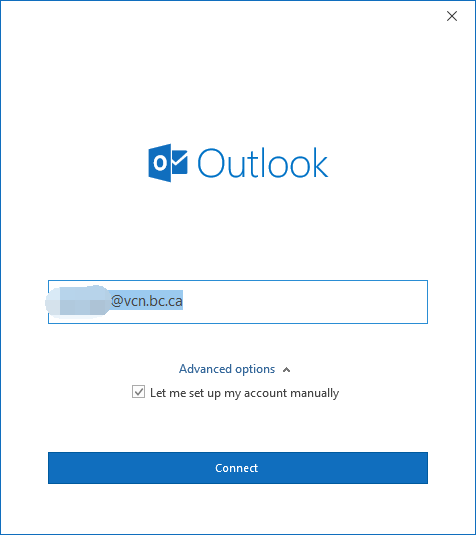
4. Type in your VCN email address.
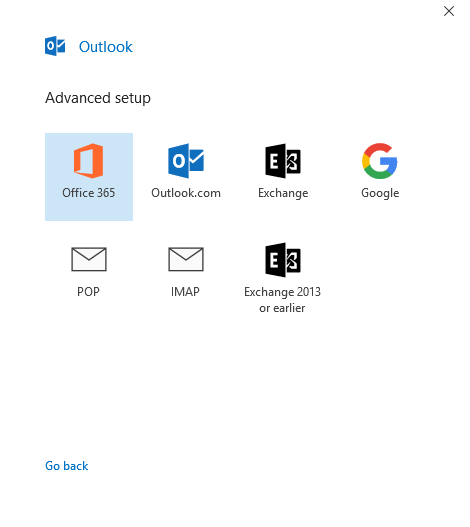
![](https://www2.vcn.bc.ca/wp-content/uploads/2019/04/10-5.png)
5. Select POP.
![](https://www2.vcn.bc.ca/wp-content/uploads/2019/04/10-6.png)
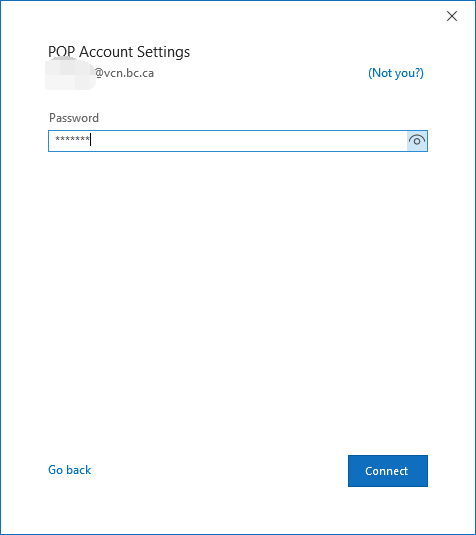
6. Enter password for email address.
![](https://www2.vcn.bc.ca/wp-content/uploads/2019/04/10-7.png)
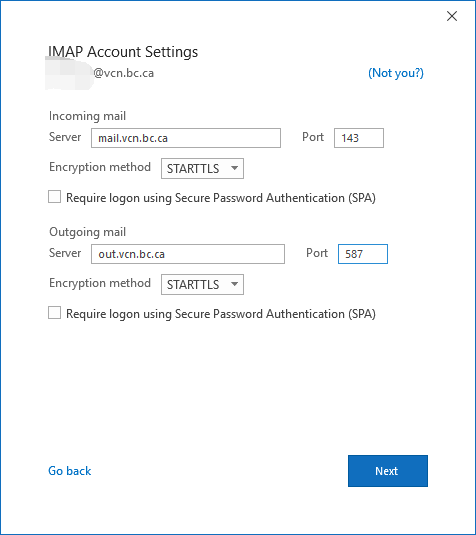
7. Enter the information as stated in the picture.
Incoming mail
Server: mail.vcn.bc.ca
Port: 143
Encryption Method: STARTTLS
Outgoing mail
Server: out.vcn.bc.ca (Using the Outgoing Mail Server ‘out.vcn.bc.ca’ first requires registering for access HERE)
Port: 587
Encryption Method: STARTTLS
![](https://www2.vcn.bc.ca/wp-content/uploads/2019/04/10-100.png)
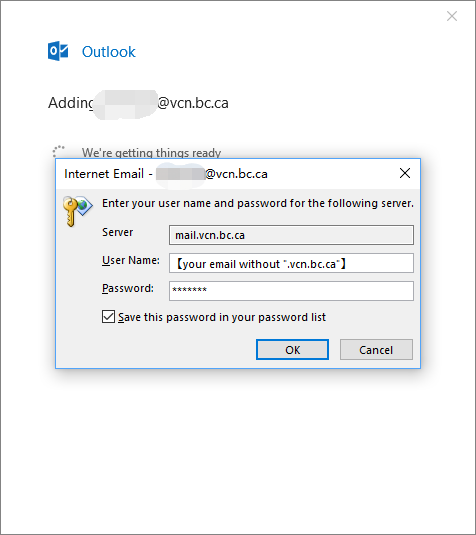
8. Make sure your username is correct.
![](https://www2.vcn.bc.ca/wp-content/uploads/2019/04/10-10.png)
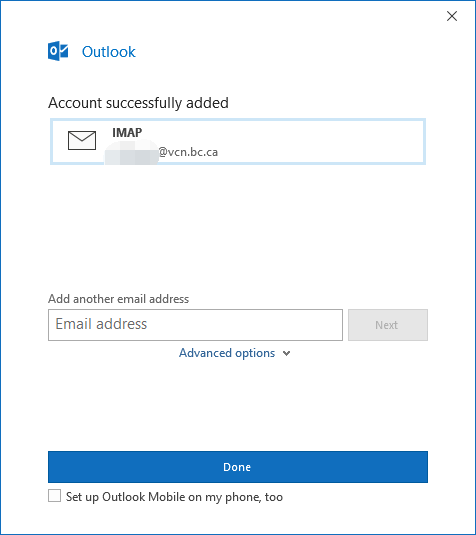
9. Account successfully added.
![](https://www2.vcn.bc.ca/wp-content/uploads/2019/04/10-11.png)
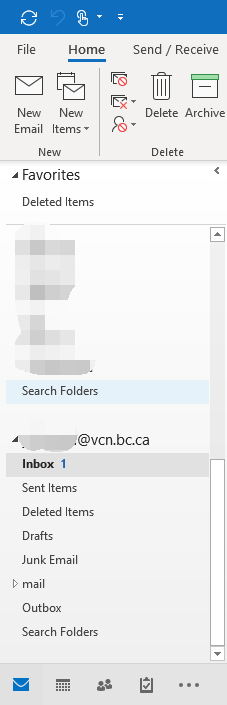
10. Now your VCN email is available to use.