Here are the instructions for Outlook 2010 in case you were interested to know.
1. Start Outlook 2010

2. Open Account Setup wizard:
2.1 If it’s your first email account (first time open):
-
-
- When prompted to configure an email account, click Next:
-
-
-
- To add an email account, click Yes, and then click Next.
-
2.2 If you want to add additional email account:
-
-
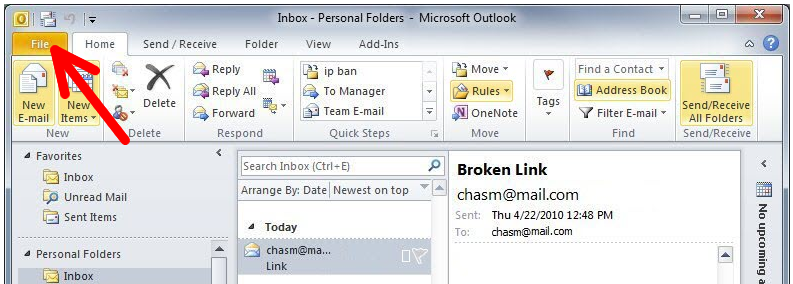
- Go to File tab:
-
-
-
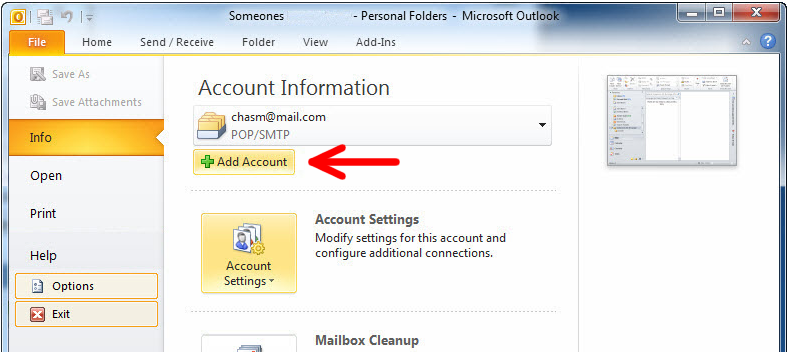
- Click on Add account:
-
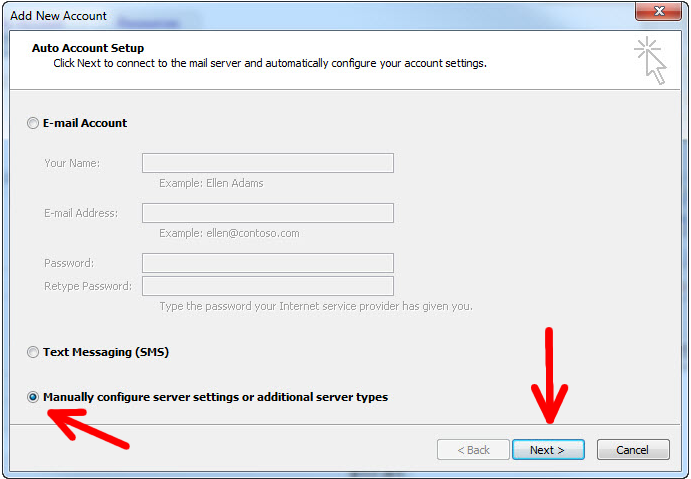
3. Near the bottom, select the button that says, “Manually configure server settings or additional server types”, and press on Next button:
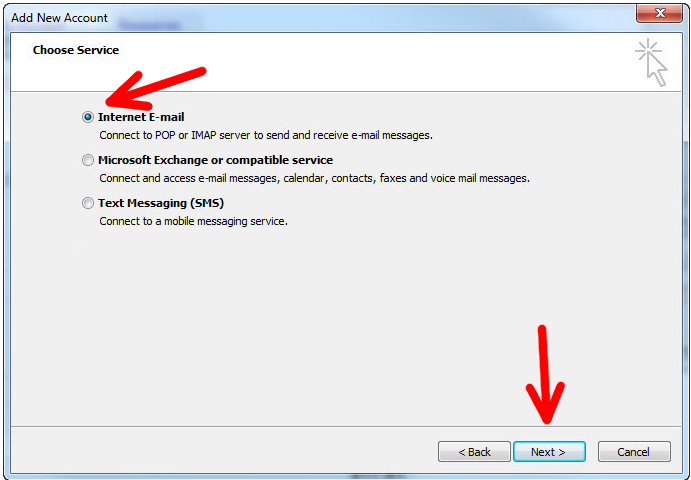
4. Select the first option “Internet E-mail” and press on Next button:
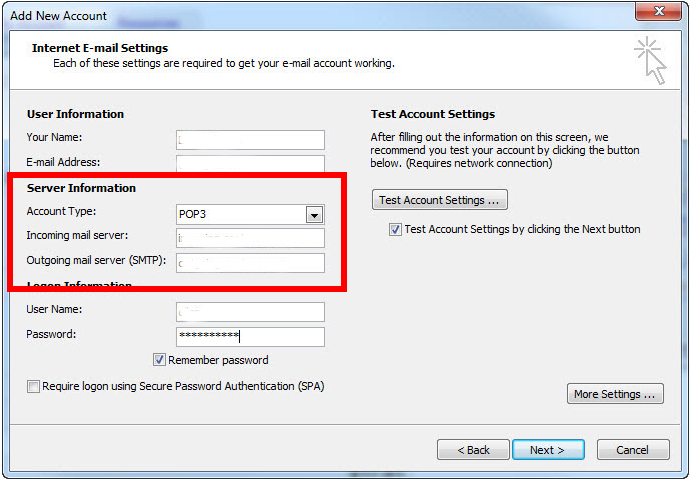
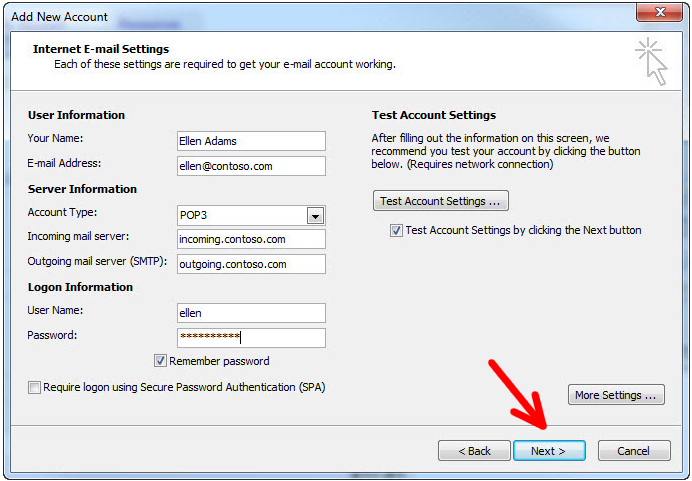
5. For the part where it says to type your User Information, please type:
-
- Your Name, which you would like to use to identify yourself.
- Also, type your e-mail address, which for example, can be [email protected]

6. For the part where it says to type your Logon Information, please type your username (without the @vcn.bc.ca); please type also your password:

7. For the part where it says to type in your Server Information:
NOTE: Using the Outgoing Mail Server ‘out.vcn.bc.ca’ first requires registering for access HERE.
NOTE: If you wish to use Telus or Shaw as your internet provider, please go to your provider’s website and follow their Outgoing Server settings.
-
- Please type your Incoming mail server (POP3): mail.vcn.bc.ca
- Your Outgoing mail server (SMTP): out.vcn.bc.ca
-
- Press on More Settings button:

-
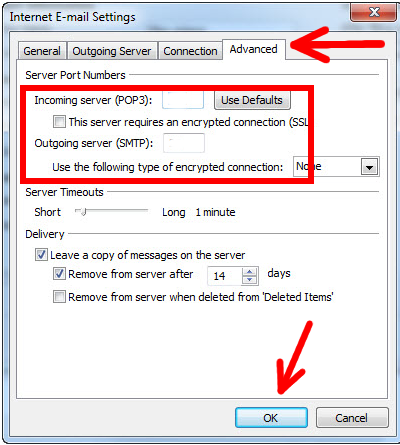
- Go to Advanced tab, and change the configurations as following:- Incoming server (POP3): 110
- Check “The server requires a secure connection (SSL)” check-box
- Outgoing server (SMTP): 587
- Check “The server requires a secure connection (SSL)” check-box
- Press on Ok button.
- Go to Advanced tab, and change the configurations as following:- Incoming server (POP3): 110
7.1 When you use VCN dial up connection:
-
- field enter mail.vcn.bc.ca
- select No Authentication
8. After you are done filling out the User Information, Logon Information, and Server Information, click on More Settings:
9. Click on the Outgoing Server tab.
10. Check the box My outgoing server (SMTP) requires authentication. Click on the radio button, Use same settings as my incoming mail server:
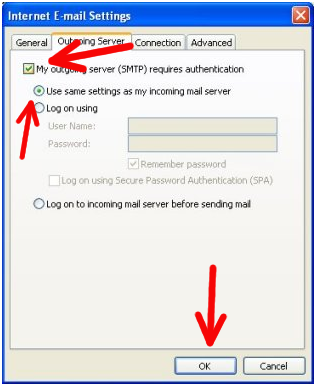
11. Click OK once you are done with Outgoing Server tab.
12. Click Next:
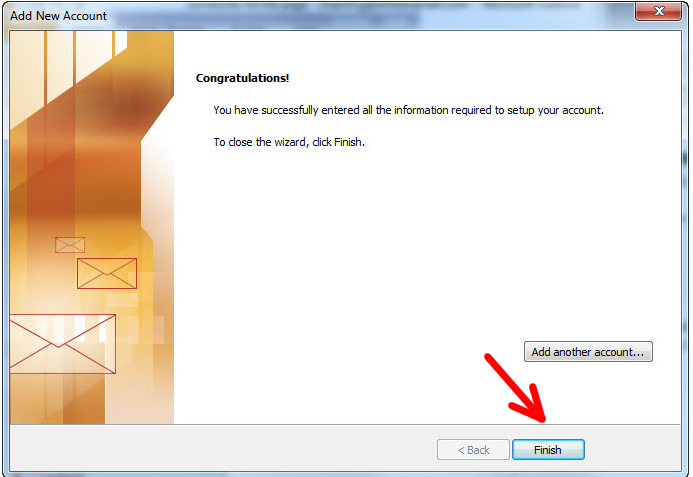
13. Click Finish: