
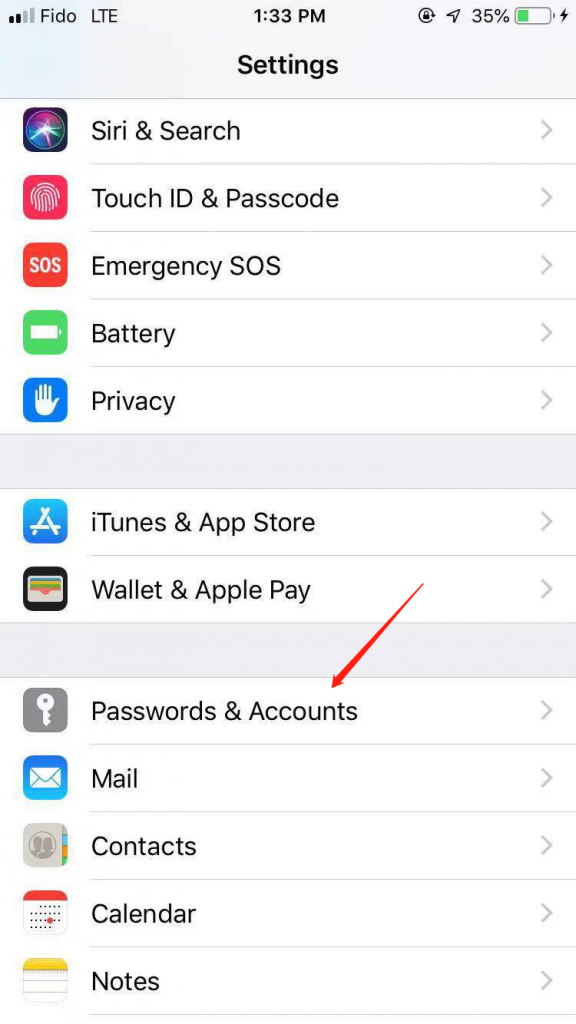
- Go to Settings application and click Password & Accounts menu.
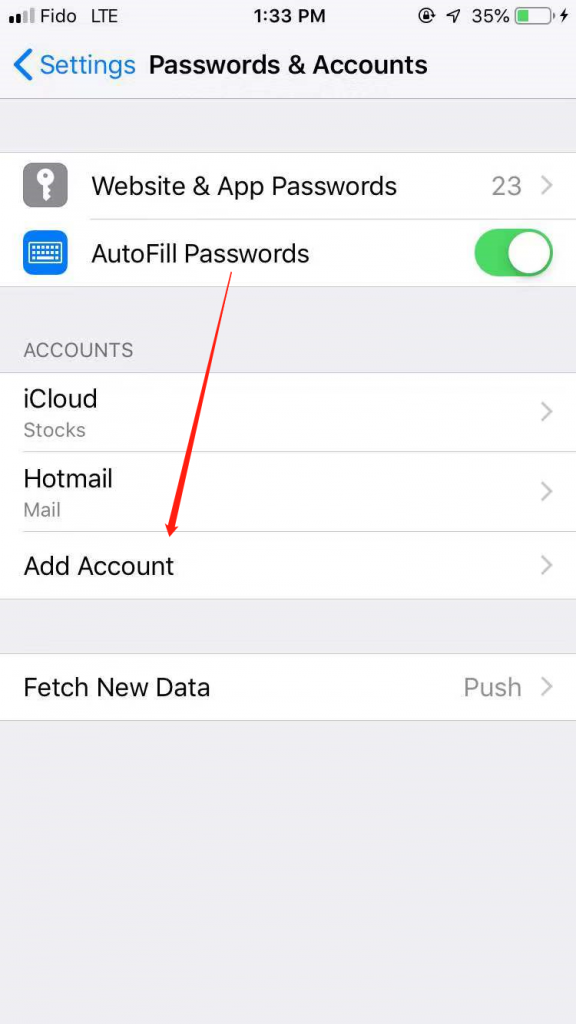
2. Select Add Account…
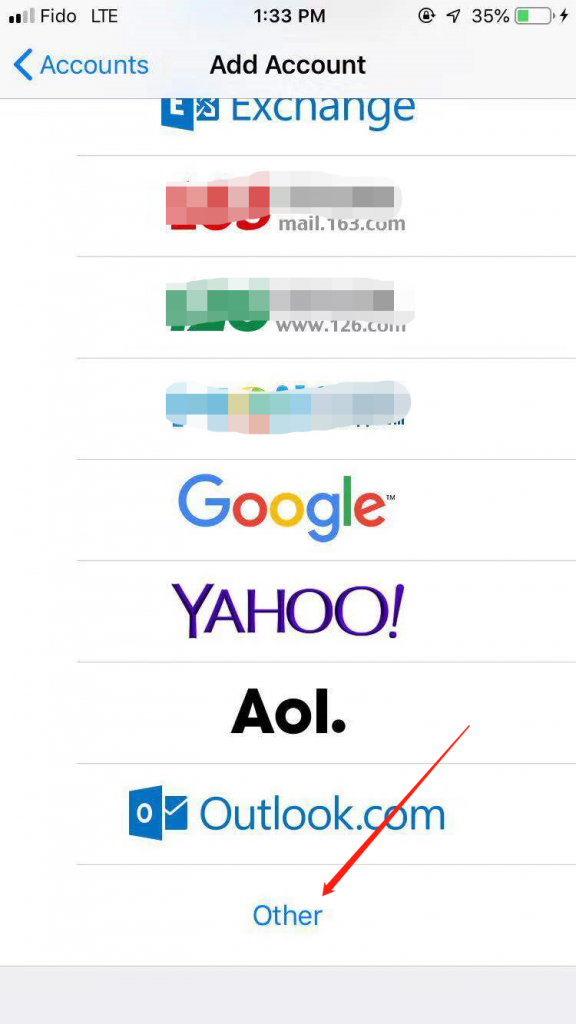
3. Select Other.
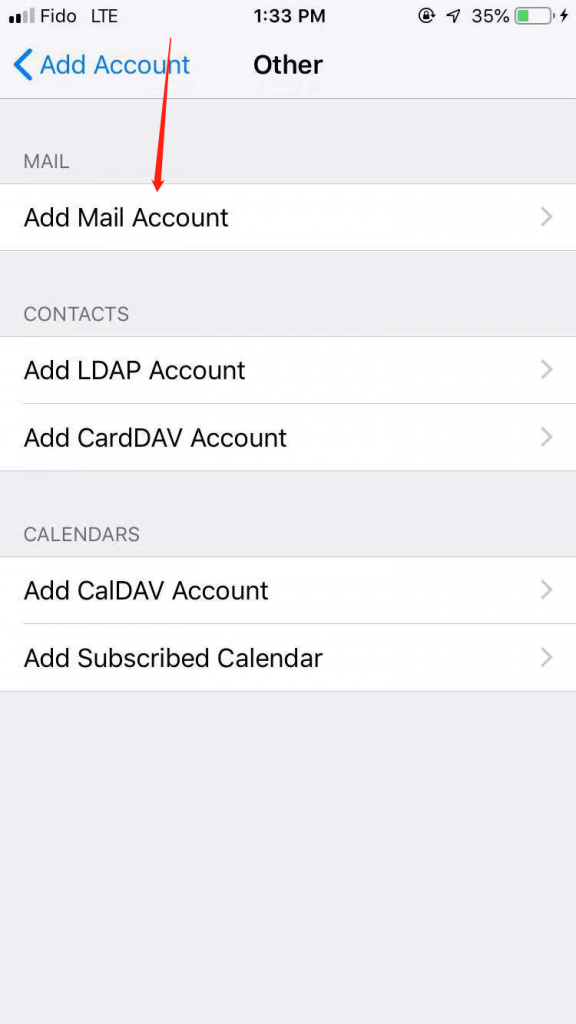
4. Select Add Account.
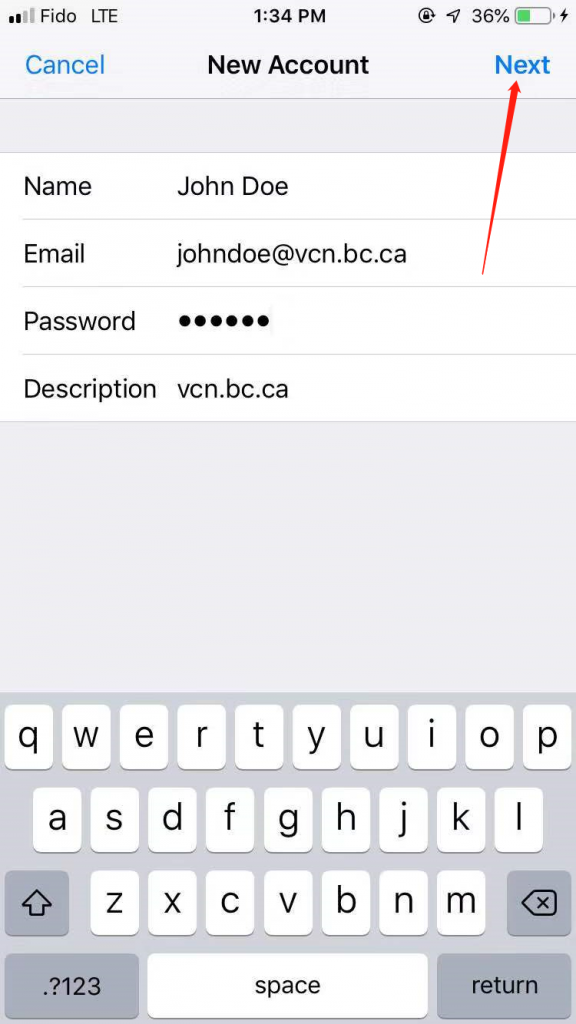
5. Write your information (Name, Email, Password).
Select Next.
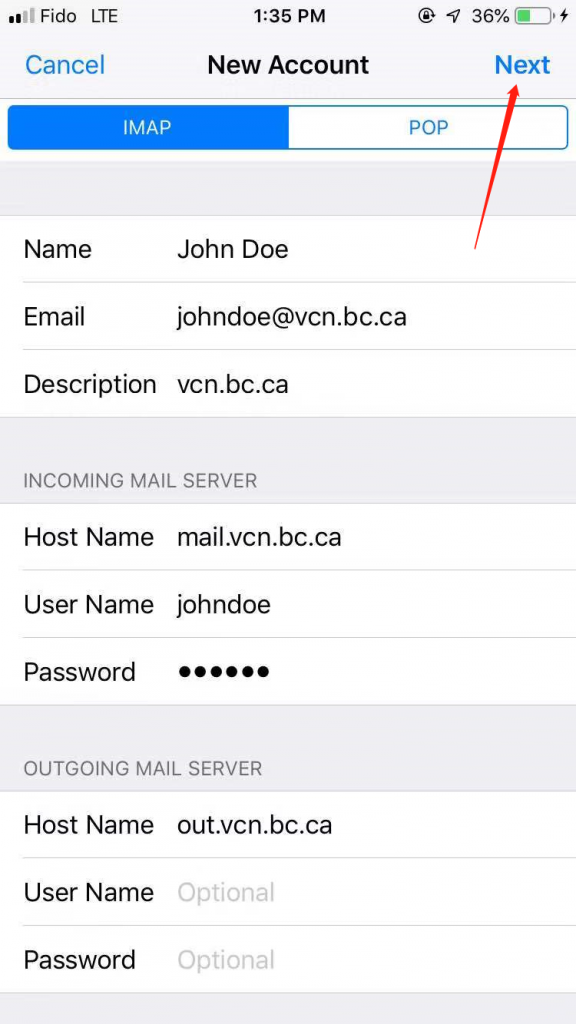
6.Select Next and Type information below.
6.1.INCOMING SERVER SETTINGS
POP/IMAP server: mail.vcn.bc.ca
6.2.OUTGOING SERVER SETTING
NOTE: If you wish to use Telus or Shaw as your internet provider, please go to your provider’s website and follow their Outgoing Server settings.
Server Name: out.vcn.bc.ca (Using the Outgoing Mail Server ‘out.vcn.bc.ca’ first requires registering for access HERE)
User Name: Your VCN email address without @vcn.bc.ca
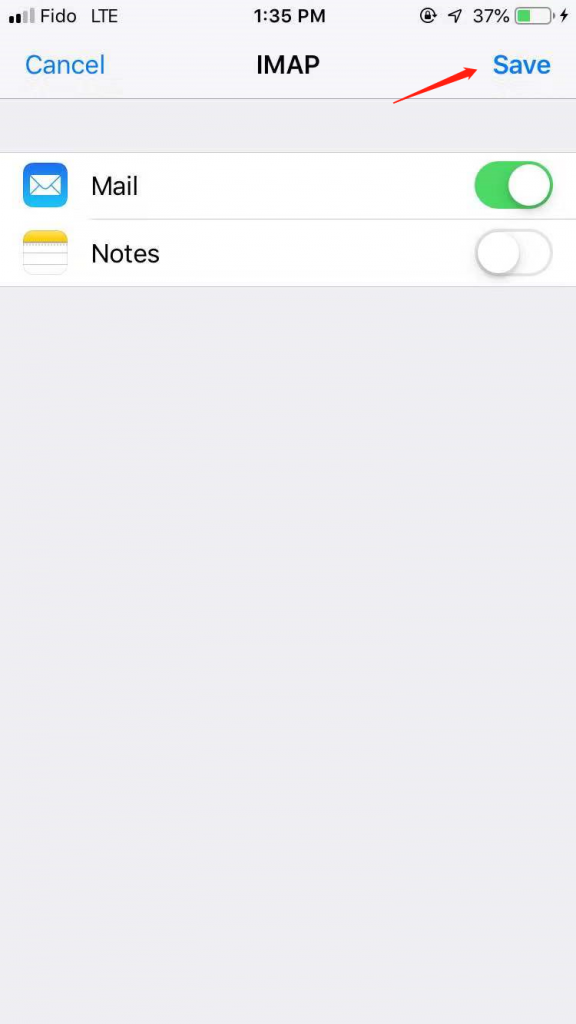
7. Click Save.
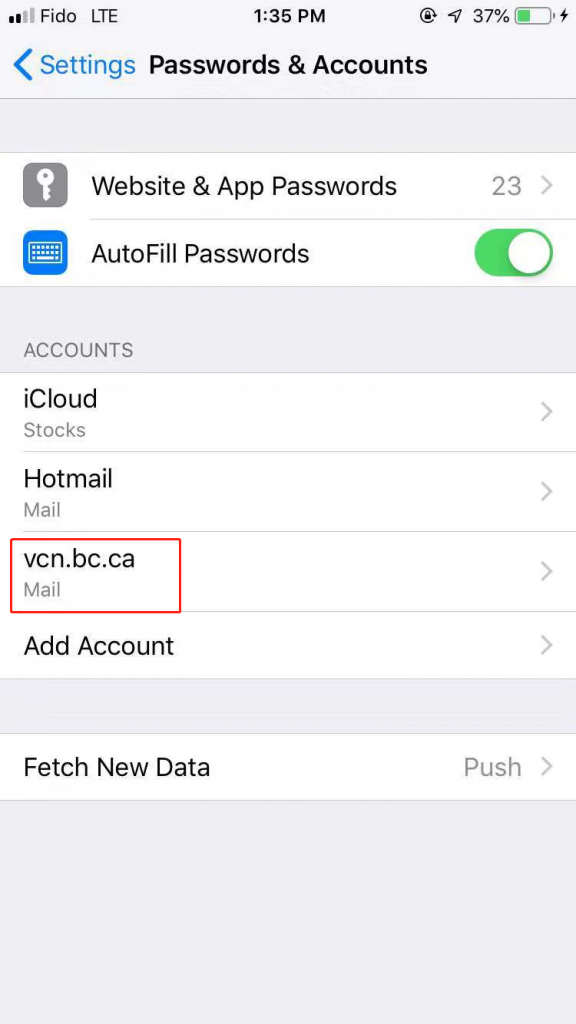
8. Success!